
The popliteal height (420mm) and buttock popliteal length (400mm) are both comfortable for a wide selection of people. The seat slopes a few degrees front to back and the back rest no longer comes further forward than the rear of the seat.
There is a small gap above where the seat folds in when flat but that is only an aesthetic issue when being stored.

In future if I make more of these I will use this design and, once she is less annoyed at me for making another chair, I am going to consult with my wife on adding some cushioning material to the seat and backrest.
And of course that concludes my furniture making for a while...yeah, right!
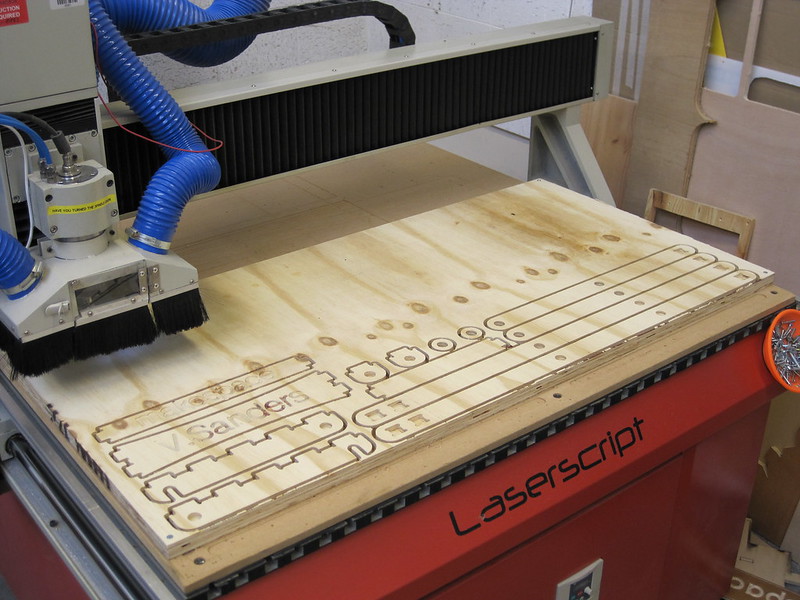
there have been comments which have complained about my usage of space on sheets and suggested I waste too much material. That is probably true and in my own defence I have not been working with this machine for very long and am not quite used to what I can "get away with" yet.

- Measure the available offcut space
- Measured the remaining 18mm dowel leftover from my dowel hinge experiments
- Found the largest width and height area I could get out of the sheet the CNC router ruined.
- Sketched a design
- Capture design to a DXF
- Carefully spread the pieces over the available material in the CAM software
- Generate a toolpath.
- Cut material


- the popliteal height is 470mm ( I was aiming at 420 and missed...badly)
- It uses a lot of expensive hardwood dowel (1373mm plus cutting width and only way I could get it accurate was to use the disc sander to remove fractions till the length was correct)
- I used pockets for the interference seat joints rather than through cuts and discovered that you need to allow tolerance depth (the pegs are 10mm deep and the sockets need to be at least 10.2 not the 10mm I cut)
- Dowel joints are great but have a small surface area so friction fit joints work loose.

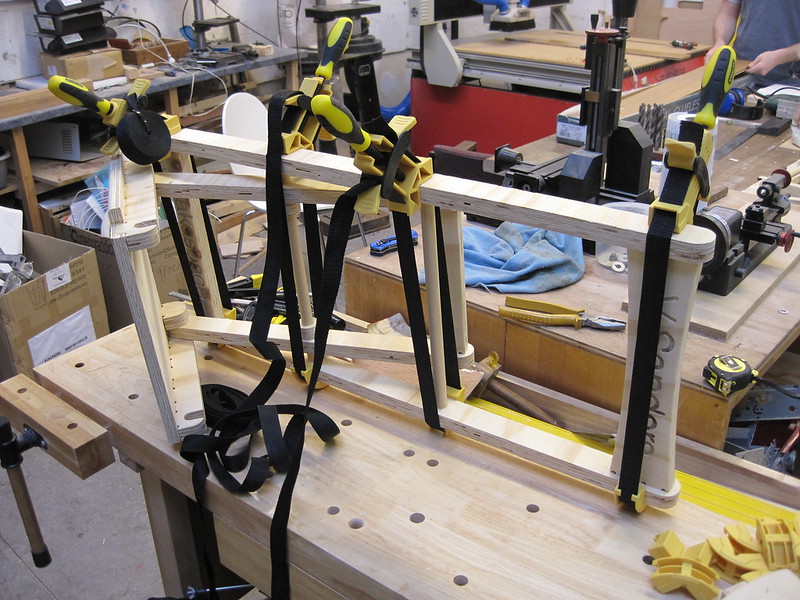
The seat went together dry fit and Paul tested it for me, however that last issue soon made me realise that this time I was going to have to resort to glue. Yes, sorry, this design needs to be glued to remain stable (I know plywood contains glue...please stop telling me that).
It is pretty simple to put together and aside from needing half the clamps in makespace to hold it in place while the glue dried, I had no trouble.
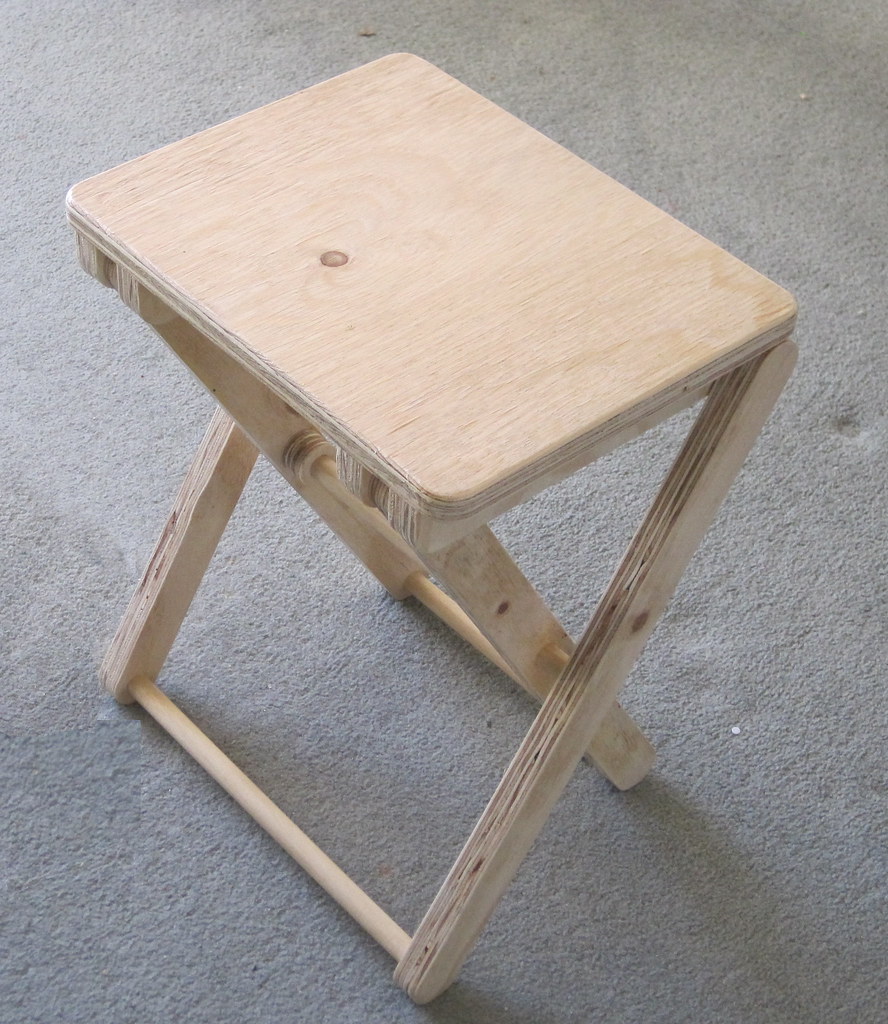
The final varnished stool is pretty robust but folds up nicely the concept of hooking to its own pivot dowel means it stays closed when flat which makes it very portable.
Total cost was an estimated £10.00 (£4.25 dowel, £2.50 of 24mm ply, £1.75 for 18mm ply, £0.50 tool wear, £1.00 varnish) though the materials in my case could be argued to have cost nothing.
It has been suggested that I could make an entire picnic table and chairs set this way but if I did I would reduce the stool height by 50mm and examine ways to use less dowel.
This is usually the bit where I point you all at the freely usable design files on github and all the photos on flikr and wrap up.
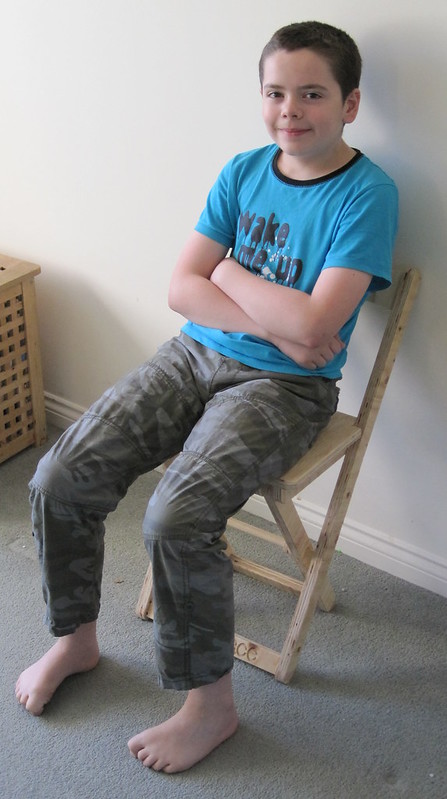
Or in this case my final (and yes I am going to do something else next) chair design. It is based on the stool, in fact it is the stool design with the outer legs extended and a back rest added.
Total cost was an estimated £10.50 (£2.50 dowel, £4.50 of 24mm ply, £1.75 for 18mm ply, £0.50 tool wear, £1.25 varnish).
Neither of the side X designs have flaws that interest me enough to follow the iterative approach again to solve them. Both the designs work well enough and rounded out my adventures with folding chairs and indeed furniture for now.
As always the design files are on github and the images are on flikr.
I and my friends were actually going through the nice helpful tips from the blog then the sudden came up with an awful suspicion I never expressed respect to the website owner for those secrets.
ReplyDelete________________________________
Theatre Seating Suppliers
Excellent article. Very interesting to read. I really love to read such a nice article. Chimney Repair MA
ReplyDeleteYour content is fascinating—I'm completely hooked. Commercial Services
ReplyDeleteI'm glad to know that you've shared some useful resources here. view site
ReplyDelete