Friday, 20 September 2013

Man is fully responsible for his nature and his choices.

Well at least he should be according to Sartre though I am not entirely convinced the repercussions of my choice to manufacture another folding chair were entirely thought through.

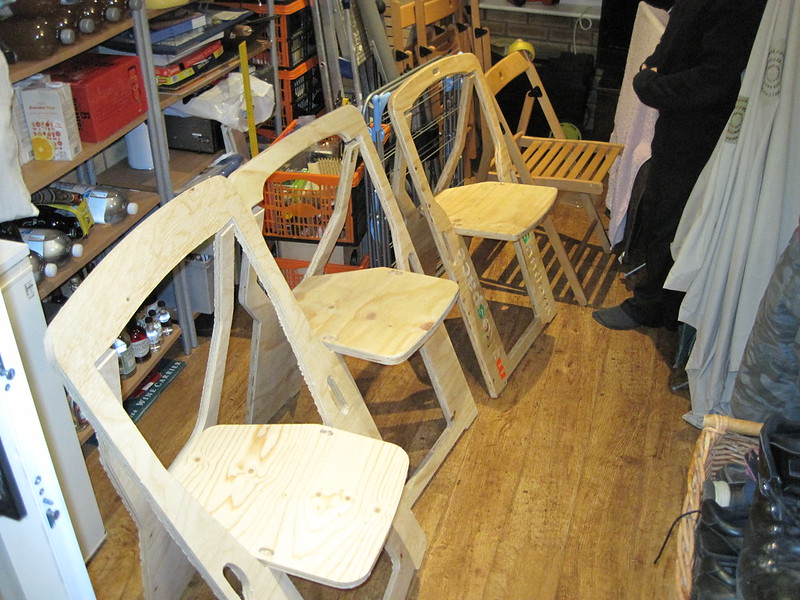
After my most recent posting the urge to do "just one more iteration" became too great and I succumbed. I therefore present version 4 of my folding chair which corrects all the previously discovered issues.

The popliteal height (420mm) and buttock popliteal length (400mm) are both comfortable for a wide selection of people. The seat slopes a few degrees front to back and the back rest no longer comes further forward than the rear of the seat.

There is a small gap above where the seat folds in when flat but that is only an aesthetic issue when being stored.

Manufacture wise the design is simple to produce although I really will have to teach our CNC router how to use the round over bit to reduce the finishing steps as currently that takes longer than the CNC operation.

In future if I make more of these I will use this design and, once she is less annoyed at me for making another chair, I am going to consult with my wife on adding some cushioning material to the seat and backrest.

And of course that concludes my furniture making for a while...yeah, right!

there have been comments which have complained about my usage of space on sheets and suggested I waste too much material. That is probably true and in my own defence I have not been working with this machine for very long and am not quite used to what I can "get away with" yet.

Side X folding stool
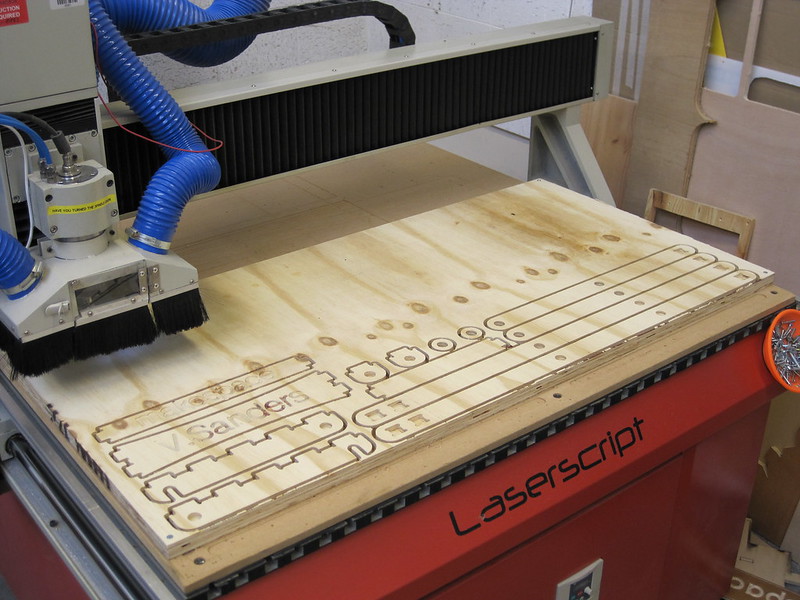
I was looking at the sheet after removing the last chair design and had a thought, I had not attempted a side X type folding design and perhaps I could squeeze one into the offcuts? I kinda got carried away, it roughly went:

  • Measure the available offcut space
  • Measured the remaining 18mm dowel leftover from my dowel hinge experiments
  • Found the largest width and height area I could get out of the sheet the CNC router ruined.
  • Sketched a design
  • Capture design to a DXF
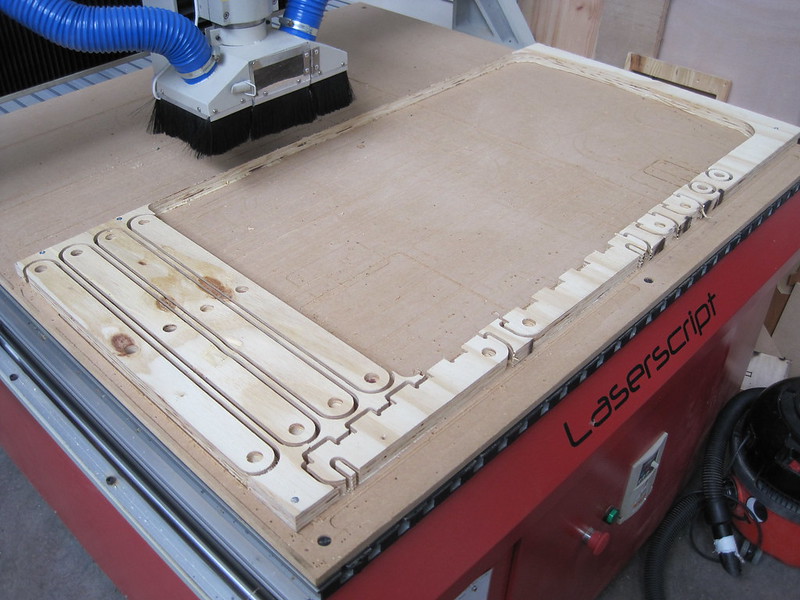
  • Carefully spread the pieces over the available material in the CAM software
  • Generate a toolpath.
  • Cut material

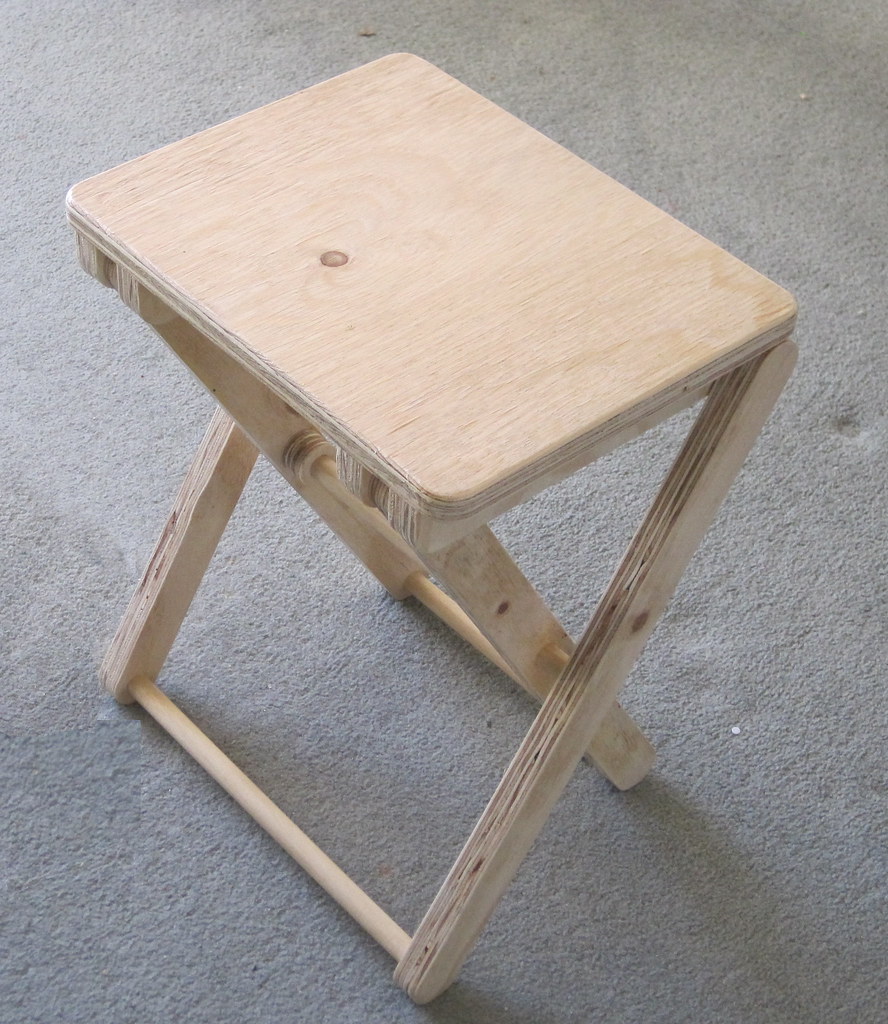
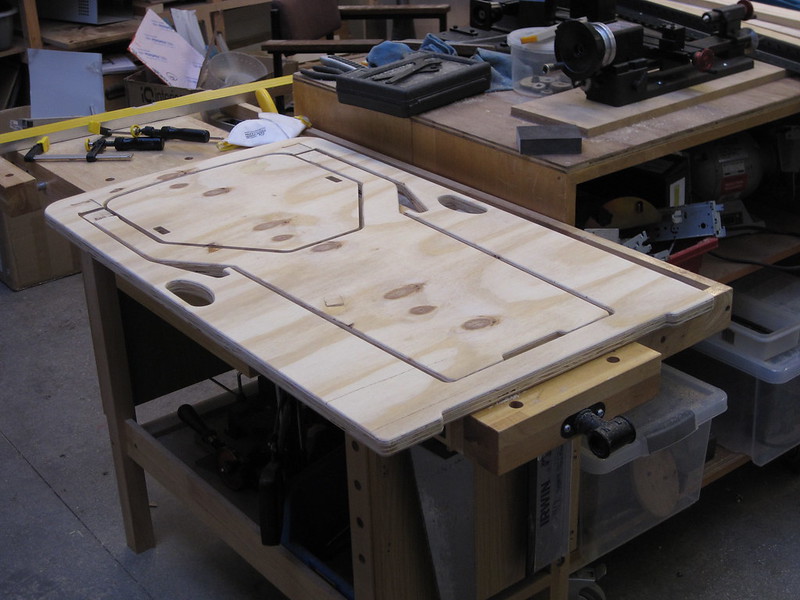
Side X folding stool cut from sheet offcut
If all of that sounds like and utterly mad way to design a size X stool, you are of course correct, but it worked, and it was a very fast process taking less than four hours from idea to stool.

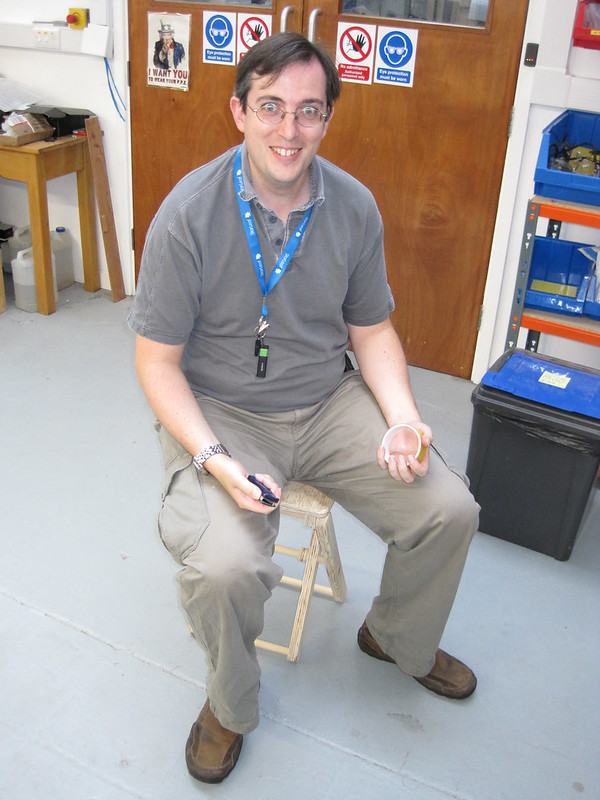
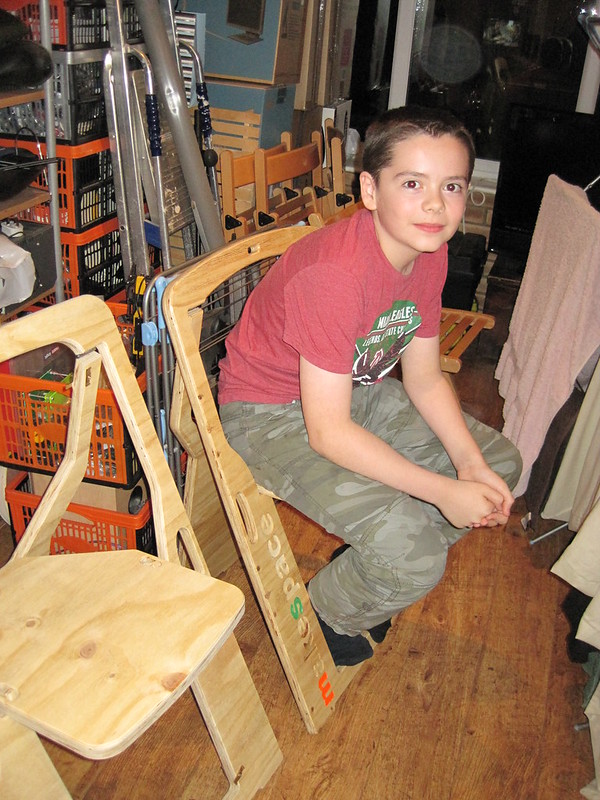
Paul testing the dry fit side X stool
There are a couple of issues:

  • the popliteal height is 470mm ( I was aiming at 420 and missed...badly)
  • It uses a lot of expensive hardwood dowel (1373mm plus cutting width and only way I could get it accurate was to use the disc sander to remove fractions till the length was correct)
  • I used pockets for the interference seat joints rather than through cuts and discovered that you need to allow tolerance depth (the pegs are 10mm deep and the sockets need to be at least 10.2 not the 10mm I cut)
  • Dowel joints are great but have a small surface area so friction fit joints work loose.
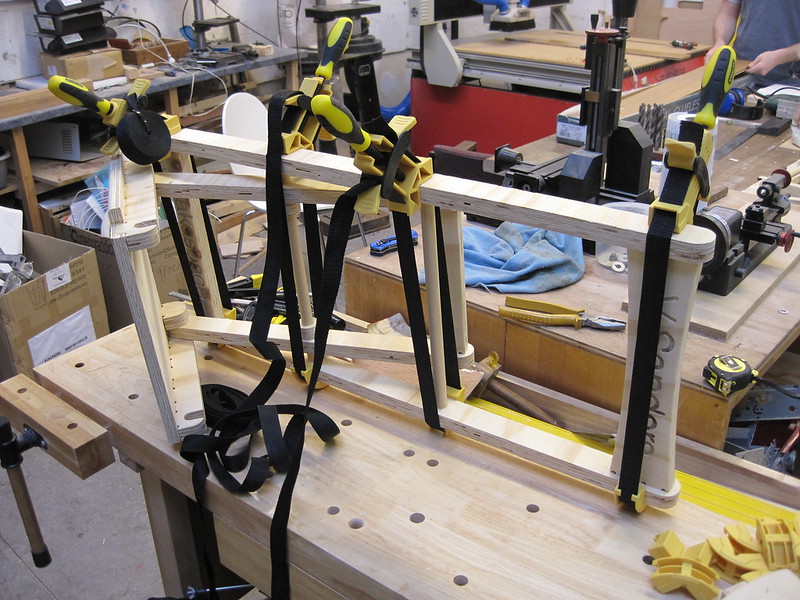
Clamping stool why the glue drys
The seat went together dry fit and Paul tested it for me, however that last issue soon made me realise that this time I was going to have to resort to glue. Yes, sorry, this design needs to be glued to remain stable (I know plywood contains glue...please stop telling me that).


It is pretty simple to put together and aside from needing half the clamps in makespace to hold it in place while the glue dried, I had no trouble.

Though this is definitely not a case of use glue "sparingly" I put generous amounts in all the dowel joints and all the seat slots and got very little ooze so I guess it could have used more.

The final varnished stool is pretty robust but folds up nicely the concept of hooking to its own pivot dowel means it stays closed when flat which makes it very portable.

Total cost was an estimated £10.00 (£4.25 dowel, £2.50 of 24mm ply, £1.75 for 18mm ply, £0.50 tool wear, £1.00 varnish) though the materials in my case could be argued to have cost nothing.

It has been suggested that I could make an entire picnic table and chairs set this way but if I did I would reduce the stool height by 50mm and examine ways to use less dowel.

This is usually the bit where I point you all at the freely usable design files on github and all the photos on flikr and wrap up.

But you know what the Monty Python boys say? "Nobody Expects the Spanish inquisition"

Or in this case my final (and yes I am going to do something else next) chair design. It is based on the stool, in fact it is the stool design with the outer legs extended and a back rest added.

The modified design reduces the dowel requirements to 775mm but requires a bit more sheet material (cannot get this one entirely from offcuts).

Total cost was an estimated £10.50 (£2.50 dowel, £4.50 of 24mm ply, £1.75 for 18mm ply, £0.50 tool wear, £1.25 varnish).
Because it is based on the stool design it suffers from the height issue and in addition the back rest is a bit far back to be completely comfortable.

Neither of the side X designs have flaws that interest me enough to follow the iterative approach again to solve them. Both the designs work well enough and rounded out my adventures with folding chairs and indeed furniture for now.

As always the design files are on github and the images are on flikr.


Monday, 16 September 2013

Ever tried. Ever failed. No matter. Try Again. Fail again. Fail better.


I seem to be adhering to Beckett's approach recently but for some reason, after my previous stool attempts, despite having a functioning design I felt I had to do just one more iteration.

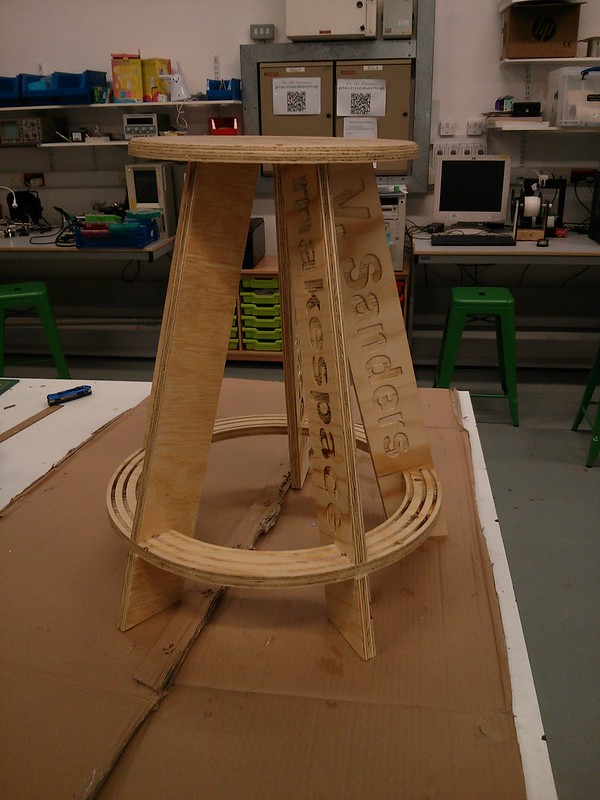
Five legged stoolGoing back to a previous concept of having five legs instead of three while this did not improve the rotational problems with the 12mm thick material, it did make the design more stable overall and less prone to tipping.

The five legged solution realised in 18mm plywood resulted in my final design for this concept. As my friend Stephen demonstrates the design is pretty solid even for those of us with a more ample frame. There are now a couple of them in use at the space alongside the three legged earlier versions.

I was finally satisfied with the result and thought I was done with furniture making for a while. My adorable wife then came up with a challenge, she wanted a practical foldable chair her requirements were:
  • Must be robust enough to cope with guests of all sizes
  • Use as little storage space as possible.
  • Not ugly.
  • Inexpensive enough they can be given as gifts.
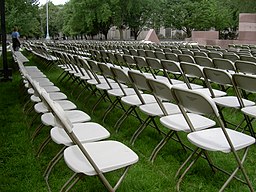
A frame folding chair, image from wikimedia
Things for individual humans to sit on raised off the floor, or chairs as we call them, have been around for a long time. My previous research for the stool indicated that chairs have a long history with examples still surviving from the ancient egyptians. From this I assumed there would be nothing novel in this project and to quote the song it's all been done before
Foldingchairs
Given this perspective my research started with an image search for "folding chair". The results immediately showed there were two common shapes. Either the chair base was formed with a pair of linked X shapes with the seat across the top, or an A frame style where the seat is across the centre.

My initial thoughts were to replicate the IKEA style A frame design until I noticed that some designs were made from a single sheet of timber with a small number of profile cuts. I searched for pre-existing design files but found none, perhaps I had found something novel to do after all.

A frame chair  1 - Front  2 - Rear  3- seat
Some quick measurements of chairs in shops (and more weird looks, mainly from my family) suggested 900mm is generally the highest a chair ought to stand. I selected a popliteal height of 420mm as a general use compromise which is a bit less than the 430mm of most mass produced chairs. I also decided there should be a front to rear drop across the seat which ought to improve comfort a little.

Material selection was based upon what I had to hand which consisted of a couple of sheets of structural plywood (1220x606x18mm temperate softwood - probably spruce although not specified) which had not become stools yet. Allowing for edge wastage and tool width this gave me a working area from a sheet of 1196x582mm.

I sketched the side view of the chair numbering the three parts. I decided part 1 would be 1000mm total height with top and bottom cross braces 80mm high, assuming the 900mm tall target, the A frame apex would be at 820mm height.

If we assert that the apex is immediately below the top cross brace on part 1 this gives 920mm at which point we have two sides of a right angled triangle (820 and 920) from which we can calculate the top angle is 26°. This also means part 2 will be 840mm long with the same 820 height this gives an angle of 10°.

I did the maths for the seat triangle using the 36° angle and 420mm popliteal height. Having experienced how flexible 18mm plywood was in the face dimension I decided to make the frame sides 50mm wide leaving, after 6mm tool path widths, enough space for a 358mm wide seat .

Once the dimensions were decided the design went pretty quickly producing something that looked similar to the designs I had seen earlier.

CNC routers can go wrong, spot the fail
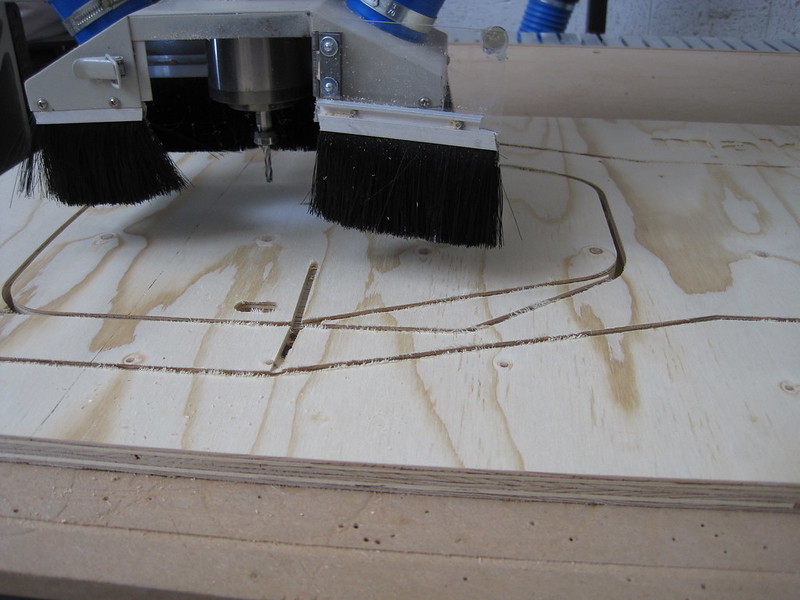
Generating toolpaths for this design proved challenging with the CAM software we had available, mainly because arranging multiple "inner" and "outer" cuts along the same path and having the tabs line up was obviously not an anticipated feature.

Things had been going far too well for me and during the routing operation our machine decided to follow an uncommanded toolpath excursion mid job (it cut a dirty great hole through the middle of my workpiece where I did not want it) ruining the sheet of material.

Fortunately, once factory reset and reconfigured, the machine ran the job correctly the second time although we still do not know why it went wrong. The parts were cut free of their tabs and hinges fitted.

The resulting design worked with a couple of problems:
  • I had made an error in my maths and added when I should have subtracted, as a result the seat slopes back to front which is not very comfortable. 
  • The chair feels very wide and tall.
  • The front face (part 1) flexes alarmingly between the seat and the ground when subjected to large loads.
Folding chair in 24mm plywood with edges rounded off
So time for a second iteration, this time I selected a thicker plywood to reduce the bend under large loads (OK already, I mean me). After shopping around for several days I discovered that unlike 12mm and 18mm thick plywood 24mm thick is much harder to find at a sensible price especially if you want it cut into 1220x606 sheets from the full 1220x2440.

I eventually physically went to Ridgeons and looked at what they actually had in the warehouse and got a price on a sheet of brazilian elliotis pine structural plywood for £43.96 which they cut for me while I waited. Being physically present also gave me the opportunity to pick a "less bad" sheet from the stack much to the annoyance of the Ridgeons employee for not just taking the top one.

This time I reduced the apex height by 30mm, the length of part 1 by 80mm. I also reduced the frame width by 10mm relying on the increased thickness of the plywood to maintain the strength. In area terms it is actually an increase in material (50mm*17.7mm = 885 against 40mm*22.80 = 912). I also included rebates for the top hinges within the design allowing them to be mounted flush within the sheet width.

The new design was cut (without incident this time) and the edges rounded off. I also added some simple catches to keep the seat and back inline while being transported.

While this version worked I had made a couple of mistakes again. The first was simply a radius versus diameter error on the handles which meant too much material was removed from a high stress area causing increased bending.

Third version of folding chair ready for finishing
The second error was a stupid mistake that where I had worked the latch holes in the seat to the wrong side of my measure line meaning the apex angle was 35.5° not the expected 33.6 which meant the backrest felt "too far forward"

The third version rectified those two errors and improved the seat front curve a little to further reduce the unneeded material in the back rest.

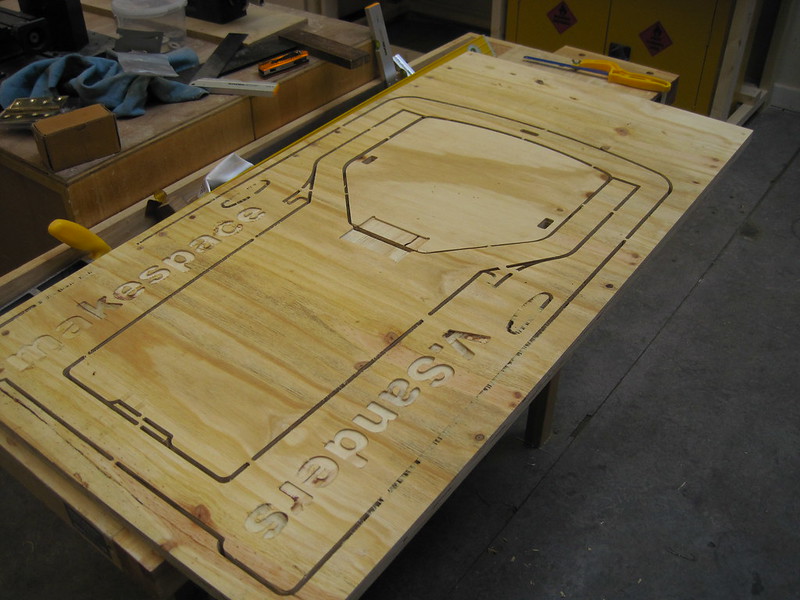
The fabrication of this design was double sided allowing for the seat hinge to be fully rebated and become flush and also adding some text similar to the stools.

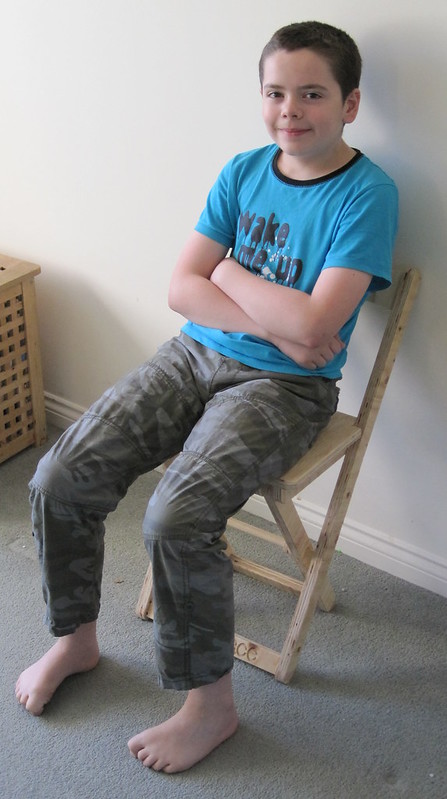
Alex sat on version 3 folding chair
This version still suffers from a backrest that is a bit too far forward and my sons complain it makes them sit up too straight. The problem is that the angle of the front face (23.6°) means that to move the rest back 20mm means the piece needs to extend another 50mm beyond the frame apex which would probably make the chair feel tall again.

I guess this is a compromise that would take another iteration or two to solve, alas my wife has declared a moratorium on more chairs unless I find somewhere to put the failed prototypes other than her conservatory.

One other addition would be a better form of catch for transport. The ones in version 2 work but are ugly, magnets inset into the frame have been suggested but not actually implemented yet.

Folding chairs versions 1 to 3 and TERJE for comparison
In conclusion I think I succeeded with the original brief and am pretty pleased with the result. A neatly folding chair that can be stacked simply by having a pile of them and are easy to move and setup.

The price per chair is a little higher than I would like at £22 (£11 for timber, £5 for hinges and screws , £5 for varnish and £1 for tool wear) plus about 2 hours labour (two sided routing plus roundover takes ages)

As previously the design files are available on github and there are plenty more images in the flikr set.

Thursday, 5 September 2013

Strive for continuous improvement, instead of perfection.


Kim Collins was perhaps thinking more about physical improvement but his advice holds well for software.

A lot has been written about the problems around software engineers wanting to rewrite a codebase because of "legacy" issues. Experience has taught me that refactoring is a generally better solution than rewriting because you always have something that works and can be released if necessary.

Although that observation applies to the whole of a project, sometimes the technical debt in component modules means they need reimplementing. Within NetSurf we have historically had problems when such a change was done because of the large number of supported platforms and configurations.

History

A year ago I implemented a Continuous Integration (CI) solution for NetSurf which, combined with our switch to GIT for revision control, has transformed our process. Making several important refactor and rewrites possible while being confident about the overall project stability.

I know it has been a year because the VPS hosting bill from Mythic turned up and we are still a very happy customer. We have taken the opportunity to extend the infrastructure to add additional build systems which is still within the NetSurf projects means.

Over the last twelve months the CI system has attempted over 100,000 builds including the projects libraries and browser. Each commit causes an attempt to build for eight platforms, in multiple configurations with multiple compilers. Because of this the response time to a commit is dependant on the slowest build slave (the mac mini OS X leopard system).

Currently this means a browser build, not including the support libraries, completes in around 450 seconds. The eleven support libraries range from 30 to 330 seconds each. This gives a reasonable response time for most operations. The worst case involves changing the core buildsystem which causes everything to be rebuilt from scratch taking some 40 minutes.

The CI system has gained capability since it was first set up, there are now jobs that:
  • Perform and publish the results of a static analysis for each component using the llvm/clang project scan-build tool.
  • Run coverage reports on modules which support gcov.
  • Build and install full toolchains for the cross compiled target platforms.
  • Run components automated tests on native platforms
  • Generate release sources and packages on a correctly tagged git commit.
  • Generates and publishes the automated Doxygen documentation.

Downsides

It has not all been positive though, the administration required to keep the builds running has been more than expected and it has highlighted just how costly supporting all our platforms is. When I say costly I do not just refer to the physical requirements of providing build slaves but more importantly the time required. 

Some examples include:
  • Procuring the hardware, installing the operating system and configuring the build environment for the OS X slaves
  • Getting the toolchain built and installed for cross compilation
  • Dealing with software upgrades and updates on the systems
  • Solving version issues with interacting parts, especially limiting is the lack of JAVA 1.6 on PPC OS X preventing jenkins updates
This administration is not interesting to me and consumes time which could otherwise be spent improving the browser. Though the benefits of having the system are considered by the development team to outweigh the disadvantages.

The highlighting of the costs of supporting so many platforms has lead us to reevaluate their future viability. Certainly the PPC mac os X port is in gravest danger of being imminently dropped and was only saved when the build slaves drive failed because there were actual users. 

There is also the question of the BeOS platform which we are currently unable to even build with the CI system at all as it cannot be targeted for cross compilation and cannot run a sufficiently complete JAVA implementation to run a jenkins slave.

An unexpected side effect of publishing every CI build has been that many non developer user are directly downloading and using these builds. In some cases we get messages to the mailing list about a specific build while the rest of the job is still ongoing.

Despite the prominent warning on the download area and clear explanation on the mailing lists we still get complaints and opinions about what we should be "allowing" in terms of stability and features with these builds. For anyone else considering allowing general access to CI builds I would recommend a very clear statement of intent and to have a policy prepared for when when users ignore the statement.

Tools

Using jenkins has also been a learning experience. It is generally great but there are some issues I have which, while not insurmountable, are troubling:
Configuration and history cannot easily be stored in a revision control system.
This means our system has to be restored from a backup in case of failure and I cannot simply redeploy it from scratch.

Job filtering, especially for matrix jobs with many combinations, is unnecessarily complicated.
This requires the use of a single text line "combination filter" which is a java expression limiting which combinations are built. An interface allowing the user to graphically select from a grid similar to the output tables showing success would be preferable. Such a tool could even generate the textural combination filter if thats easier.

This is especially problematic of the main browser job which has options for label (platform that can compile the build), javascript enablement, compiler and frontend (the windowing toolkit if you prefer e.g. linux label can build both gtk and framebuffer). The filter for this job is several kilobytes of text which due to the first issue has to be cut and pasted by hand.

Handling of simple makefile based projects is rudimentary.
This has been worked around mainly by creating shell scripts to perform the builds. These scripts are checked into the repositories so they are readily modified. Initially we had the text in each job but that quickly became unmanageable.

Output parsing is limited.
Fortunately several plugins are available which mitigate this issue but I cannot help feeling that they ought to be integrated by default.

Website output is not readily modifiable.
Instead of perhaps providing a default css file and all generated content using that styling someone with knowledge of JAVA must write a plugin to change any of the look and feel of the jenkins tool. I understand this helps all jenkins instances look like the same program but it means integrating jenkins into the rest of our projects web site is not straightforward.

Conclusion

In conclusion I think the CI system is an invaluable tool for almost any non trivial software project but the implementation costs with current tools should not be underestimated.